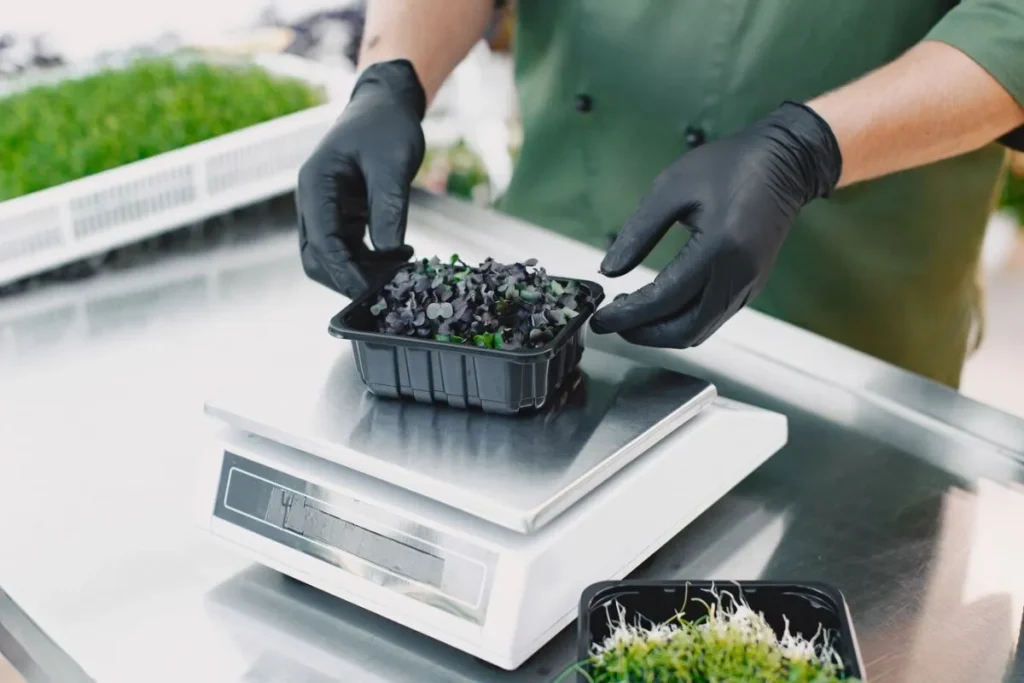
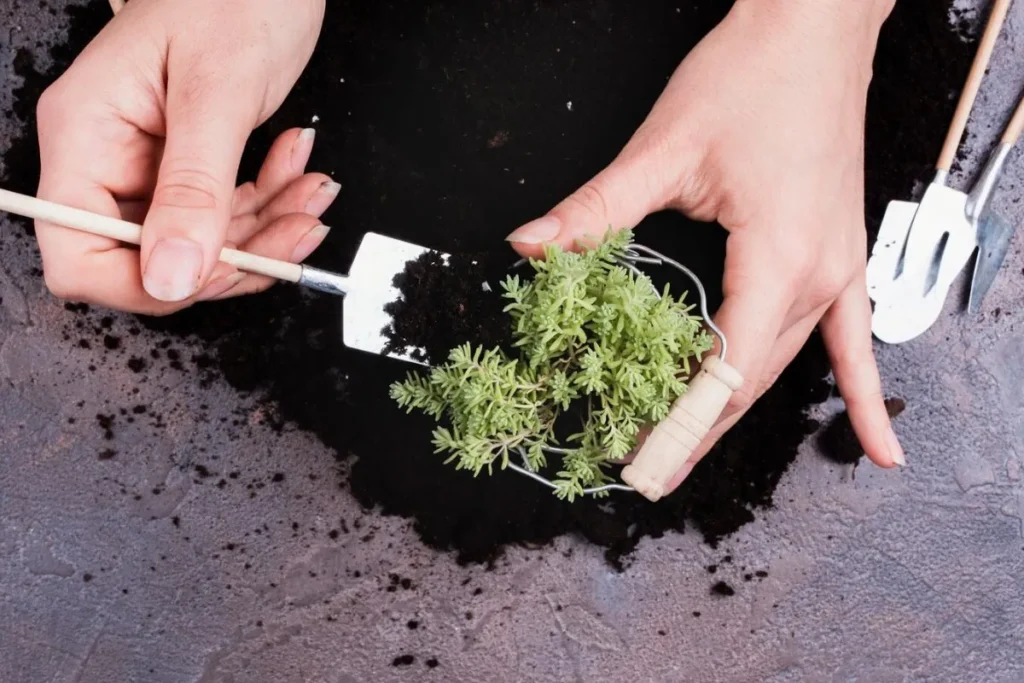
Growing Microgreens with Minimal Resources can be both enjoyable and rewarding. These tiny greens are packed with nutrients, making them a fantastic addition to any diet. In this article, we’ll delve into methods and applications to grow microgreens even with limited supplies.
The appeal of growing microgreens lies in their simplicity and versatility. They can be cultivated in small spaces with minimal equipment. This makes them perfect for urban settings, where space is often constrained.
Understanding efficient methods for growing microgreens with minimal resources helps maximize yield and sustainability. Let’s explore various techniques and the benefits they offer.
Why Choose Microgreens?
Microgreens are an excellent choice for the health-conscious gardener. These young plants are harvested just after the first true leaves develop, making them nutrient-dense.
They are easy to grow and require less time and space compared to traditional gardening. Moreover, growing your own microgreens ensures they are free from pesticides.
Additionally, they add a gourmet touch to dishes, enhancing both flavor and presentation. Their compact size and rapid growth make them ideal for beginners.
The Health Benefits of Microgreens
Microgreens are rich in vitamins, minerals, and antioxidants. Studies have shown they contain higher nutrient levels than their mature counterparts.
They can be grown from a variety of vegetable, herb, or grain seeds, offering a range of flavors and health benefits. Common varieties include kale, radish, and cilantro.
Including microgreens in your diet can help improve heart health, digestion, and strengthen the immune system. They are an easy way to boost your daily nutrient intake.
Getting Started with Minimal Resources
Growing microgreens with minimal resources starts with choosing the right seeds and growing medium. You don’t need fancy equipment or a large garden.
Seeds are widely available and inexpensive. A shallow container, such as a recycled plastic tray, can serve as a growing bed. Compost or soil, some water, and light are primarily what you need.
Indoor lighting solutions or natural sunlight can be used. Regular monitoring and proper care are essential to ensure healthy growth and maximize yield.
Choosing the Right Seeds
Not all seeds are ideal for growing microgreens. Seeds meant for microgreens are typically untreated and organic. Look for varieties labeled specifically for this purpose.
Common choices include broccoli, arugula, and mustard. Experiment with different seeds to find the ones you like best.
Avoid seeds treated with fungicides or non-organic fertilizers. These can affect growth and may be harmful if ingested.
Steps to Cultivate Microgreens with Minimal Resources
1. Soil Preparation
Prepare the container by filling it with a few inches of soil or compost. Ensure the medium is leveled for even seed distribution.
Moisten the soil lightly. The medium should be damp but not waterlogged to promote seed germination.
Use a spray bottle to mist the top layer evenly. This helps maintain moisture without disturbing the soil.
2. Seeding Your Container
Scatter the seeds evenly across the surface. Aim for a uniform distribution to ensure even growth.
Press the seeds gently into the soil using your hand or a piece of cardboard. This helps them establish contact with the growing medium.
Cover the seeds with a thin layer of soil. A fine mesh strainer can help distribute the layer evenly.
3. Watering and Light
After seeding, mist the soil lightly. Maintain moisture by misting regularly, especially during germination.
Place the container in a well-lit area or under grow lights. Ensure they receive 4-6 hours of light daily.
Monitor the light source regularly to prevent the seedlings from becoming leggy or stressed.
4. Harvesting Your Microgreens
Microgreens are ready to harvest roughly 7-14 days after seeding. Look for the first true leaves as a sign they’re ready.
Use a pair of clean scissors to snip the greens just above the soil line. Harvesting in the morning preserves their crispness and flavor.
Rinse the harvested microgreens under cold water and dry them on a paper towel before use.
Maximizing Yield with Limited Supplies
Using minimal resources doesn’t mean compromising on yield. Simple techniques can help you get more from your microgreens.
Rotate your containers to ensure even light distribution. This prevents uneven growth and optimizes light exposure.
Regularly monitor moisture levels. Overwatering can lead to mold, while underwatering can stunt growth.
Efficient Resource Management
Reuse soil by composting after each harvest. This reduces waste and enriches the medium.
Implement a staggered planting schedule. This ensures a continuous supply of microgreens without overwhelming your resources.
Utilize homemade compost and natural fertilizers. These are cost-effective and environmentally friendly.
Tools and Equipment
- Plastic trays or shallow containers
- Organic or untreated seeds
- Spray bottle for misting
- Grow lights or a sunny spot
- Scissors for harvesting
Applications of Homegrown Microgreens
Microgreens are not only nutritious but also versatile in culinary applications. They can elevate dishes with minimal effort.
They are popular in salads, sandwiches, and wraps, adding a fresh, crisp texture. Their concentrated flavor enhances a variety of recipes.
Incorporate them in smoothies, soups, or as garnishes. Their vibrant color and nutritional profile make them a favorite among home chefs.
Culinary Innovations with Microgreens
Experiment with different varieties to discover new flavors. Spicy, sweet, or tangy—microgreens offer a wide palate of tastes.
Chefs increasingly use microgreens to create visually appealing plates. Their small size allows for intricate presentation styles.
Microgreens are great for pickling or fermenting, preserving their nutrients and extending their shelf life.
The Sustainable Choice
Growing microgreens at home reduces the carbon footprint associated with commercial farming and transportation.
It also fosters a sense of self-sufficiency and connection to your food sources. Gardening can be a therapeutic and satisfying experience.
Moreover, it promotes a zero-waste lifestyle. Using what you have at home efficiently aligns with sustainable living principles.
The Future of Urban Farming
Urban farming is rapidly expanding. Microgreens are a key element due to their short growing cycle and minimal space requirements.
Innovations in indoor farming technologies, like hydroponics and vertical gardens, are making it easier to grow microgreens year-round.
These advancements make urban farming accessible to a broader population, encouraging more sustainable city living.
Embracing the Microgreens Movement
Growing microgreens with minimal resources isn’t just a trend; it’s a sustainable and rewarding practice. By understanding efficient methods and applications, you can maximize your yield with limited supplies.
Whether you’re a seasoned gardener or a beginner, microgreens offer a versatile and nutrient-rich addition to any garden. Start your journey today and enjoy the myriad benefits of these tiny greens.
Ready to get started on your microgreens journey? Join our community for more tips and tricks on sustainable urban farming. Subscribe to our newsletter for regular updates!
Frequently Asked Questions
Do I need special seeds for microgreens?
Yes, it’s best to use seeds labeled for microgreens as they are typically untreated and organic.
How much light do microgreens need?
Microgreens need about 4-6 hours of light daily, either from natural sunlight or grow lights.
Can I reuse the soil for another batch?
Yes, you can reuse soil by composting it. This improves its quality and reduces waste.
What are the best varieties of seeds to start with?
Popular varieties include broccoli, arugula, radish, and cilantro. Experiment to find your favorite.
How long do microgreens take to grow?
Microgreens typically take 7-14 days to be ready for harvest, depending on the type of seed and growing conditions.


